The Headlands Farming Basics Guide
Cultivate, sow, grow, harvest, and decide — raw sale or production — while fuel and weather watch every move.
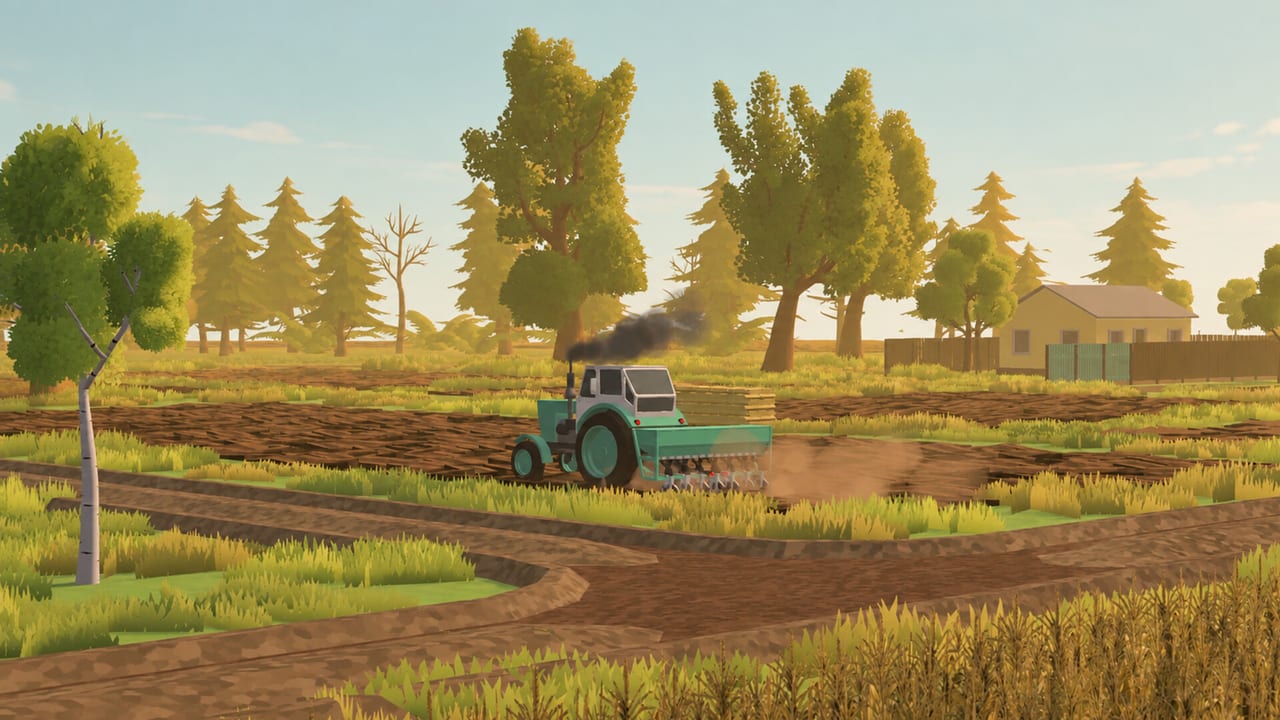
Farming in The Headlands is a quiet strategy puzzle dressed as fieldwork. You revive neglected land around Traktorivka, push Soviet-era and homemade machines through the seasons of Early Access, and keep time, fuel, and harvest in balance while market prices drift on their own schedule. This page is the systems backbone: how a field progresses, how crops differ, when to sell versus process, and which mistakes empty the tank without filling the wallet.
New players should finish Getting Started first and keep Controls handy. For rain timing, jump to Weather. For crop personality and diversification, use Crops. For sell timing and fuel cash buffers, use Market. For mill and sawmill math, use Production Chains.
The core field loop
- Prepare the land — cultivate (and related prep) until the plot is ready for seed.
- Sow — choose a crop your tools and patience can finish.
- Grow — wait; rain can speed growth, clear skies keep options open.
- Harvest — only when weather allows; rain blocks harvest even if crops look ready.
- Store, haul, decide — sell raw at living prices, or feed production for finished goods.
- Reset — return the field to work or shift crop mix based on prices and machine access.
There are no punishment timers forcing a panic sow. The pressure is softer and more honest: diesel costs, travel time, and a price that may move before you arrive.
Crop roster (Early Access)
Grain and specialty plants include buckwheat, wheat, poppy, flax, and sunflower. Vegetables include potatoes, carrots, onions, beets, and garlic, with a dedicated vegetable harvester in the fleet progression. Each crop carries its own growth time, yield profile, and market behaviour. Treat “highest sticker price” as incomplete information — ask:
- Do I own the right harvest tool today?
- Can I finish this field before a rain lock?
- Is the haul distance eating the margin?
- Would flour/boards (or other processed outputs) beat this raw sale after extra labour?
Sketch rotations with the crop planner once you juggle more than two active fields.
Fuel discipline on the land
Fuel is the hidden yield tax. Long diagonal approaches, repeated incomplete passes, and distant fields without a truck ferry plan all spend diesel that never touches soil productively. Habits that help:
- Work nearest viable fields until logistics improve.
- Batch jobs on the same side of the village.
- Top up before “one last pass” — stranded machines cost more than a short fuel run.
- Count the return trip when you chase a high price across the map.
Machine choice matters: see tractors and harvesters. Homemade mentor builds can change the curve — homemade list and Sydorovych.
Living market prices
Prices are not static shop tags. They shift while you play — sometimes while grain sits in the truck bed. Practical approach:
- Check price before you commit a long loaded drive.
- Keep storage flexibility so you are not forced to dump at a trough.
- Compare raw sale versus processed margin when mill/sawmill routes are online.
- Remember contracts pay differently from market dumps; do not assume every neighbour job beats a good elevator moment (Contracts).
If a price collapses mid-haul, pause and decide: sell anyway to free the truck, store if you can, or divert into production. Freezing in the road helps no one.
Rain, growth, and harvest windows
Rain acts like a free sprinkler and speeds growth. You cannot harvest while it is raining. That single rule creates the game’s best planning tension: do you sow into a wet forecast to rush growth, or keep fields staggered so something is always harvestable on clear days? Thunderstorms and fog add visibility and pacing pressure; clear and cloudy days are when headers should roll. Deep dive: Weather Guide.
Vegetables versus grain
Vegetables expand your portfolio but demand respect for specialised harvesting. Do not plant a full vegetable block until you can actually lift it efficiently. Grain pipelines (and flour via the mill) often anchor early cashflow; vegetables shine when you have the harvester, storage, and market read to match. Mix fields so weather or a broken plan on one crop does not idle the whole farm.
Expansion: fields, fleet, buildings
Grow in this order of honesty:
- Reliable loop on few fields (prep → sow → harvest → sell/process).
- Fuel and storage buffers that survive a bad price day.
- Second tractor or better implements when the first is the bottleneck — not before.
- Production buildings and warehouse flow when raw margins flatten.
- Combines and distant land when trucks and fuel budgets can feed them.
Village life and story contracts open more of Traktorivka as you help neighbours. Early Access will keep adding machinery, contracts, and eventually map space beyond the village (roadmap, Early Access notes).
Sell raw or process?
Rule of thumb for Early Access players:
- Sell raw when you need fuel money now, when processed capacity is backed up, or when the raw price spike is historically strong for that crop.
- Process when you can feed the mill/sawmill steadily, when trucks can move finished goods, and when the extra steps still beat the raw quote after fuel.
- Never process just because the building exists — empty production chains are decorative fuel sinks.
Full routing advice: Production Chains.
Contracts versus your own fields
Neighbour jobs are part of the fantasy and the economy. They also steal the same hours your ripe wheat wants. Accept contracts that sit on your geographic loop or that pay for a machine you were saving toward. Decline heroic cross-map chores when the sky is about to close on harvest. Details and prioritisation: Contracts Guide.
Session template
- Check weather and price board.
- Refuel anything below a comfortable buffer.
- Harvest every clear-ready field first.
- Cultivate/sow what rain can bless next.
- Haul sales or production inputs on shared routes.
- Fit one contract only if fuel and time remain.
- Park clean for tomorrow (Controls parking habits help).
Related pages
Farming basics in The Headlands are less about memorising a meta crop and more about keeping diesel, sky, and prices in one plan. Master that, and the rest of Traktorivka opens at your pace.
Frequently Asked Questions
Quick answers for Early Access farmers in Traktorivka.
Can I harvest during rain?
No. Rain helps crops grow faster but blocks harvesting. Wait for a clear window, then work quickly.
Which crop should beginners plant first?
Choose a crop your current tractor and implements can fully finish on a nearby field. Matching tools beats chasing the highest listed price.
When do I buy a combine?
When field count and grain volume make headers the bottleneck and you can fuel plus haul the extra output. See the harvesters tier page before spending.
Do vegetables use the same harvester as grain?
Vegetables have a dedicated vegetable harvester in the progression. Plan plantings around the tools you actually own.
Is the farming loop complete in Early Access?
Yes — build the farm, work fields, run machinery, contract, earn, and expand are already in. Balance and content will keep growing toward 1.0.